Hatching Quail Eggs: A Guide to Successful Incubation
Raising quail can be very rewarding. It starts with hatching eggs successfully. I’ve raised my own quail chicks and it’s incredibly fulfilling.
This guide will share tips and tricks for hatching quail eggs. We’ll cover everything from choosing the right eggs to caring for the chicks. It’s perfect for both new and experienced quail raisers.
Let’s start this exciting journey of hatching quail eggs. With the right approach and patience, you’ll soon welcome your new feathered friends.
Table of Contents
Benefits of Hatching Quail Eggs
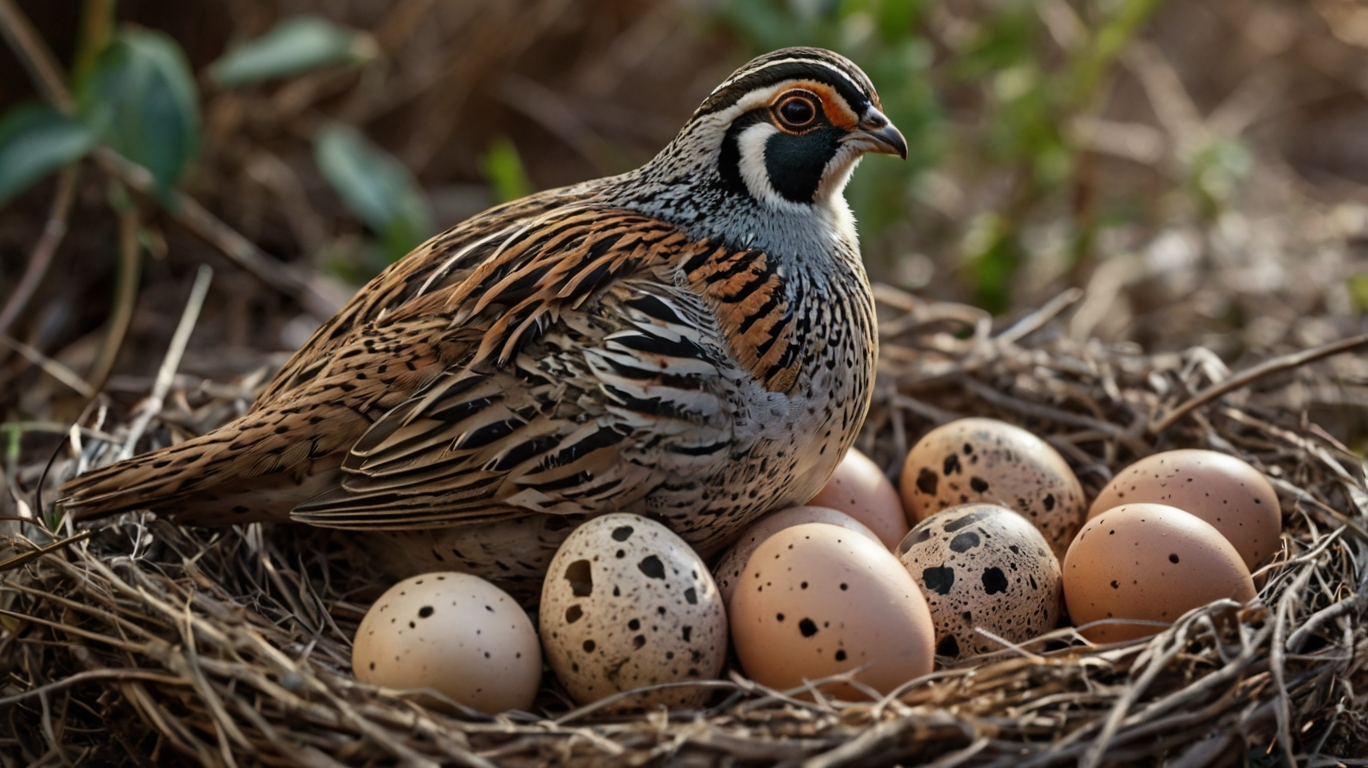
Hatching your own quail eggs is great for backyard quail fans and small-scale farmers. It lets you have a steady flow of healthy chicks. This is perfect for growing your quail flock for meat, eggs, or other products.
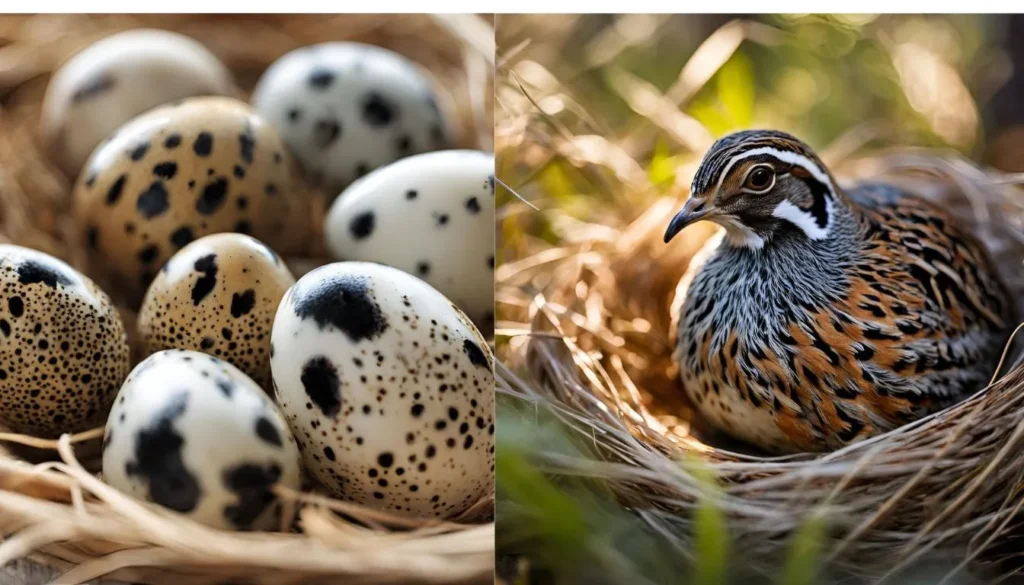
Steady Supply of Chicks
Quail can lay up to 300 eggs a year, making them great for egg production. They grow fast, reaching adulthood and laying age in 6-8 weeks. This means you can always have young birds to add to your flock or replace old ones.
Cost-Effective and Easy
Hatching quail eggs is simple and saves money compared to buying grown quail. They need less space than chickens, which is good for small homesteads. Plus, their manure is full of nutrients, making it great for your garden. Hatching your own eggs lets you control the health and genetics of your quail, ensuring a strong flock.
| Quail Egg Production | Quail Chick Growth | Quail Housing Requirements |
|---|---|---|
| Up to 300 eggs per year | Reach adulthood in 6-8 weeks | Minimum 1 sq ft per bird |
| Eggs laid every 1-2 days | Start laying eggs at 6-10 weeks | Recommended 3 sq ft per bird |
| Higher yolk-to-white ratio | Faster growth than chickens | Ideal for limited-space homesteads |
By hatching your own quail eggs, you get a steady chick supply. It’s also cost-effective and space-saving. Plus, you get nutrient-rich manure for your garden. Investing in incubation lets you control your quail flock and enjoy their many benefits.
Selecting the Right Eggs
Choosing the right quail eggs is the first step to hatching them successfully. Look for eggs that are clean and have healthy-looking shells. Stay away from eggs that are dirty, misshapen, or have weak shells.
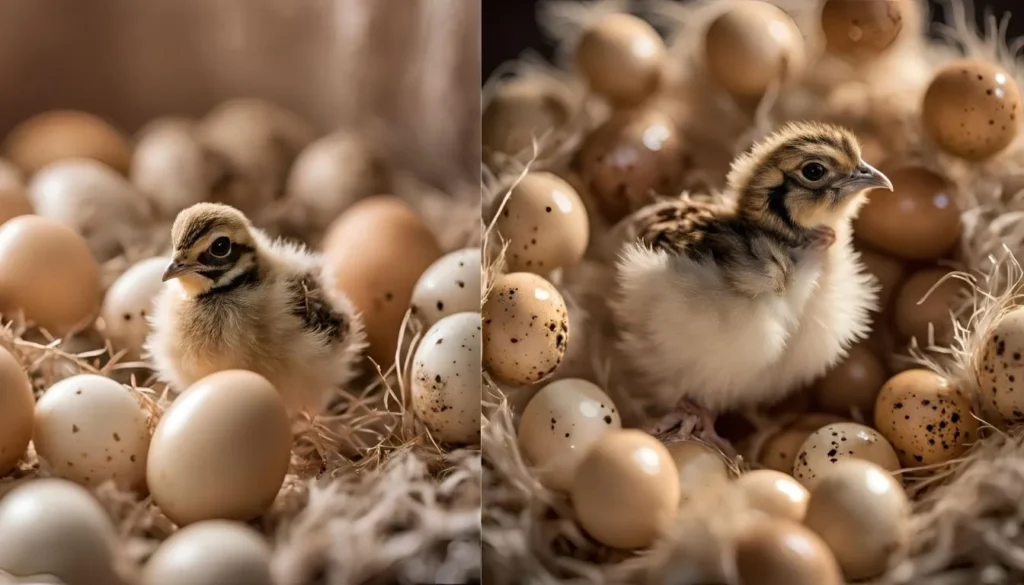
If you’re collecting eggs from your quail flock, keep them cool. Store them with the pointed end down. Gently move them several times a day. For eggs you buy, make sure to store them right before incubation to keep them fertile.
Healthy and Well-Formed Eggs
Choose quail eggs without cracks or odd shapes. The shells should be smooth and without any color changes or marks. Eggs that are too small or too big might not hatch well. So, pick eggs that are the same size and shape.
Good quail egg selection is key to high quail egg fertility.
Proper Storage Conditions
- Store eggs in a cool, dry place, like a fridge at 55-65°F (13-18°C).
- Keep eggs pointed-end down to keep quail egg quality high.
- Mildly move the eggs a few times a day to stop the yolk from sticking to the shell.
- Don’t wash the eggs, as it can harm the protective layer and cause quail egg handling problems.
By picking and storing your quail eggs carefully, you’ll increase your chances of a successful hatch.
Setting Up the Incubator
Choosing the right incubator is key to hatching quail eggs successfully. There are many types of incubators, each with its own benefits. For newbies, a forced-air incubator with automatic egg turning is best. It keeps the temperature and humidity steady, which is crucial for good hatch rates.
Preparing the Incubator
Before you start, clean and disinfect the incubator well. This makes sure the eggs have a safe, clean place to grow. After cleaning, set the temperature to 99.5°F (37.5°C) and keep humidity at 45-55% for the first 14 days. These exact levels are important for the quail embryos to grow well.
Keep an eye on the incubator’s temperature and humidity. Adjust them as needed to keep the eggs in the best conditions. This is important for the whole incubation time.
“The key to successful quail egg incubation is providing a stable, controlled environment within the incubator. Consistent temperature and humidity levels are vital for the embryos to thrive and hatch.”
By preparing the incubator carefully and keeping the settings right, you’re on the path to hatching healthy quail chicks. Remember, paying close attention and monitoring everything is key to getting high hatch rates.
Incubating the Eggs
Proper egg placement and turning are key in quail egg incubation. Place the quail eggs with the pointed end down in the incubator. This helps the chick develop right. If your incubator has an automatic egg turner, make sure it works well to turn the eggs a few times a day.
Placing Eggs in the Incubator
Put the quail eggs with the pointed end down in the incubator. This way, the embryo can grow naturally and hatch well. Don’t overcrowd the eggs to keep the incubator’s air and temperature right.
Turning the Eggs
Turning the eggs is vital to stop the embryo from sticking to the shell. If your incubator doesn’t have an automatic turner, turn the eggs manually at least three times a day. Mark one side of each egg to remember which side is up. Regular and gentle turning ensures even growth and a better hatch rate.
| Incubation Parameter | Optimal Range |
|---|---|
| Temperature | 99.5°F (37.5°C) |
| Humidity | 40-55% (initial), 65-75% (lockdown) |
| Turning Frequency | Automatic or manual (minimum 3 times per day) |
Keeping the temperature and humidity steady, along with correct egg turning, is key for successful quail egg incubation. By sticking to these tips, you’ll increase your quail chicks’ chances of hatching and growing well.
Monitoring and Adjusting
Keeping a close eye on the incubator’s temperature and humidity is key. It’s vital for the quail eggs to hatch successfully.
Temperature and Humidity
In the first 14 days, aim for a temperature of 99.5°F (37.5°C). The humidity should be between 45-55%. This is the best environment for the quail embryos to grow.
For poultry and game birds, the ideal humidity is 40 to 50% RH. Waterfowl need 45 to 55% RH. As hatching nears, increase humidity to at least 60%.
Candling the Eggs
Start candling the eggs around day 10. This lets you see the embryo’s development. Use a bright light to illuminate the egg.
Look for a dark spot with blood vessels. This means the embryo is growing. Candling helps you see how the eggs are doing and if you need to make changes.
| Quail Species | Incubation Temperature | Incubation Humidity | Transfer Temperature | Hatch Humidity |
|---|---|---|---|---|
| Bobwhite, Snowflake, Mexican Speckled Quail | 99.5°F | 55% | 98.5°F | 65% |
| Coturnix Quail | 99.5°F | 55% | 98.5°F | 65-70% |
By watching the temperature and humidity closely, and candling the eggs, you can help the embryos grow well.This improves the chances of hatching.
The Final Days (Lockdown Period)
As the quail egg incubation nears its end, it’s time to get ready for the hatch. Around day 14, stop turning the eggs. Then, increase the humidity in the incubator to 65-75% for the quail egg lockdown period. This stage is key for the chicks to hatch well.
Make sure the incubator’s vents are open wide. This lets the chicks get enough quail egg hatch preparation oxygen as they come out of their shells.
Keeping the right quail egg humidity and quail egg temperature is vital during lockdown. The incubator should stay at 99.5°F. Watch the humidity closely and adjust it if needed to help the chicks hatch well.
- Stop turning the eggs on day 14 of incubation.
- Increase the humidity in the incubator to 65-75% during the lockdown period.
- Keep the incubator temperature at a consistent 99.5°F.
- Ensure the incubator vents are fully open to provide adequate oxygen.
- Carefully monitor and adjust the humidity levels as needed.
| Incubation Stage | Temperature | Humidity |
|---|---|---|
| Early Incubation | 99.5°F | 40-50% |
| Lockdown Period (Last 3 Days) | 99.5°F | 65-75% |
By managing the quail egg lockdown period well, you can ensure a successful hatch. Stay alert and adjust as needed to give your eggs the best chance to hatch.
Hatching Quail Eggs
Watching for Pipping
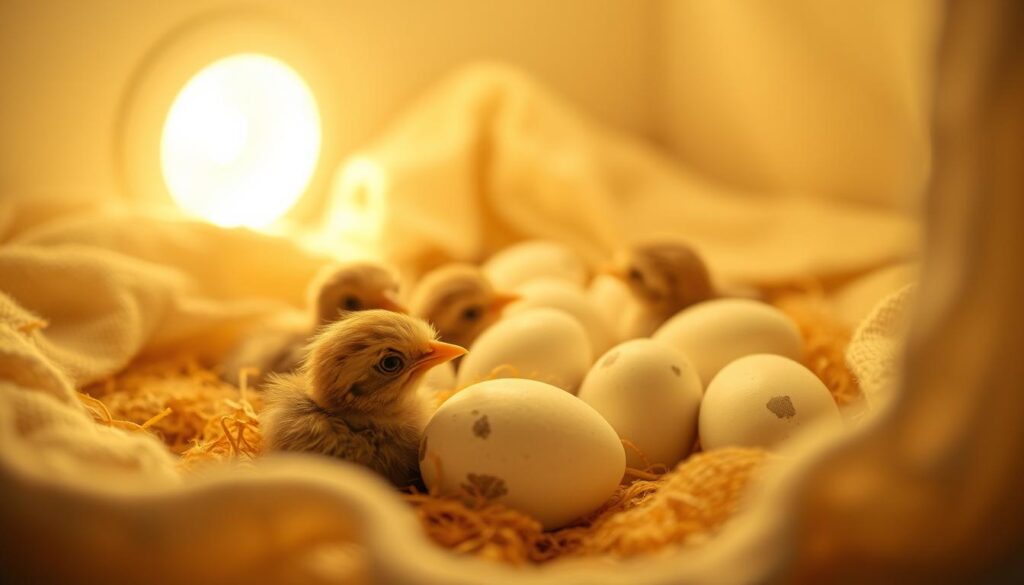
The first sign of hatching is a small crack in the eggshell, called “pipping.” This can take hours. It’s important to wait patiently and not disturb the chicks as they break free.
As the chick “zips” the shell, it will slowly come out. It will stretch its wings and legs.
Assisting with Hatching
After the chick starts to hatch, let it be. It should stay in the incubator until it’s fully dry and active. This can take 6 to 12 hours. Avoid helping the chick unless it’s really needed, as it can get hurt.
The best hatching conditions are a temperature of 97-99°F and humidity of 65-75%. By watching the incubator and making adjustments, you can help ensure a successful quail egg hatching. This will bring healthy, vibrant quail chicks.
The hatching process is delicate and critical for your quail chicks. By providing the right environment and letting them hatch naturally, you’ll give them a great start in life.
Caring for New Hatchlings
Congratulations! Your quail eggs have hatched, and now it’s time to care for your chicks. Setting up a good brooder and watching their health are key. These steps help them adjust well to life outside the incubator.
Brooder Setup
Start by creating a warm, safe brooder for your quail chicks. Keep the temperature around 95°F (35°C) for their comfort and health. Place shallow dishes with marbles to keep them from drowning. Also, offer a high-protein starter feed made for game birds or quail.
Monitoring Chicks
- Watch the chicks for signs of too much heat or cold. Lower the brooder temperature as they grow and get feathers.
- Check on the chicks often during the day. Ensure their water is clean and they have sufficient food.
- Change the brooder’s bedding often to keep it clean and safe for your chicks.
By setting up a good brooder and watching your chicks closely, you can help them start strong. With proper care, they will grow into healthy, lively quail.
Troubleshooting Common Issues
Hatching quail eggs can be very rewarding, but you might face some common problems. Being ready to solve these issues quickly is crucial for your quail’s health.
One big issue is quail egg incubation problems like low hatch rates. This can happen due to wrong temperature, humidity, egg turning, or infertile eggs. It’s important to keep the incubator’s temperature and humidity right. They should be around 37.5°C (99.5°F) and 50-60% for the first 14 days. Then, increase to 65-70% for the last days.
Another issue is quail egg hatch problems, like early embryo death or eggs not hatching. This can be because of wrong egg turning or bad storage before incubation. Candling eggs regularly can help spot problems early and fix them.
Quail chick health problems like weakness or deformities can also occur. These might be due to bad nutrition or environment. Keeping the brooder clean and well-ventilated and feeding the chicks well can help.
By always learning and improving, you can get better at hatching quail eggs. Being alert and quick to solve problems is essential for a healthy quail flock.
Tips for Improving Hatch Rates
Hatching quail eggs can be very rewarding. But, to get high hatch rates, you need to pay close attention to several factors. Here are some tips to boost your quail egg hatch success:
- Egg Selection: Pick healthy, well-shaped quail eggs for incubation. Stay away from eggs that are misshapen, cracked, or dirty. These eggs might not hatch well.
- Proper Egg Storage: Keep fertile quail eggs at 55-65°F and 70-80% humidity. This helps the embryo grow well. Also, turn the eggs at least five times a day to stop the embryo from sticking to the shell.
- Incubator Setup: Make sure your incubator keeps the temperature at 99.5°F. The humidity should be 50-60% for the first 14 days. Then, raise it to 70-80% for the last days before hatching.
- Egg Turning: Turn the quail eggs regularly, at least three times a day. This ensures even growth and prevents the embryo from sticking to the shell.
- Monitoring and Adjustments: Keep a close eye on your incubator’s temperature and humidity. Adjust them as needed to keep the best conditions for incubation.
By following these tips and learning from your experiences, you can boost your quail egg hatch rate. This way, you’ll enjoy the joy of hatching a healthy flock.
| Factor | Optimal Range |
|---|---|
| Storage Temperature | 55-65°F |
| Storage Humidity | 70-80% |
| Incubation Temperature | 99.5°F |
| Incubation Humidity (Days 1-14) | 50-60% |
| Incubation Humidity (Days 15-Hatch) | 70-80% |
Maintaining a Healthy Quail Flock
Raising a thriving quail flock needs careful attention and care. It’s not just about hatching eggs. Keeping your quail healthy is key for a productive and lasting flock. You must consider quail flock health, quail disease prevention, and quail management carefully.
Creating a suitable living space is crucial. Each quail needs roughly one square foot of space. They are low-maintenance and quiet, perfect for small farms. But, they are delicate and need gentle handling.
Preventing diseases is vital. Coccidiosis is almost always fatal for quail if untreated. Regular checks and proactive steps are essential to keep your quail healthy.
| Quail Flock Health Considerations | Quail Disease Prevention Strategies | Quail Management Tips |
|---|---|---|
|
|
|
By focusing on your quail’s health, you can have a steady egg supply. Keep learning and adjust your care to meet your quail’s needs. This will help your flock thrive for a long time.
Conclusion
Hatching quail eggs can be very rewarding. It lets you start or grow a quail flock for different reasons. By following this guide, you can incubate and hatch your own quail chicks.
Learning, paying attention to details, and being flexible are crucial. They help you get high hatch rates and keep your quail flock healthy.
This guide is great for anyone into quail breeding, quail farming, or just keeping backyard quail. It gives you the info and strategies for your quail egg hatching journey. You’ll learn about the benefits of quail eggs, like their nutrients and long shelf life.
With hard work, patience, and a flexible mindset, you can face any quail egg hatching challenges. Follow the steps and techniques provided here. Let your love for quail help you succeed in this exciting venture.

